In today’s digital world, having control over your data and online services is becoming increasingly important. A DIY home server allows you to store files, host websites, run media servers, and even self-host applications—all while keeping your data private and accessible from anywhere. Whether you’re a tech enthusiast or just looking to reduce reliance on cloud services, setting up a home server can be a rewarding project. This guide will walk you through the essentials of building your own home server.
Why Build a Home Server?
A home server provides numerous benefits, including:
- Data Privacy: Store personal files securely without relying on third-party cloud services.
- Media Streaming: Use software like Plex or Jellyfin to stream movies and music to any device.
- Game and Application Hosting: Run game servers, websites, or even self-hosted alternatives to cloud services.
- Backup and File Sharing: Automatically back up important data and access files remotely.
- Learning Experience: Gain hands-on experience with networking, server administration, and system management.
Choosing the Right Hardware
Before setting up your server, you need the right hardware. Consider the following options:
1. Repurpose an Old PC or Laptop
If you have an unused computer, it can be transformed into a server. While it may not be as power-efficient as a dedicated server, it’s a great way to start without additional costs.
2. Use a Raspberry Pi
For lightweight applications like file sharing or a personal cloud, a Raspberry Pi is a cost-effective and energy-efficient choice.
3. Build a Custom Server
If you want more power, you can build a server using dedicated components, such as:
- CPU: Intel Xeon or AMD Ryzen processors for efficient multitasking.
- RAM: 8GB or more, depending on workload.
- Storage: SSDs for fast performance and HDDs for bulk storage.
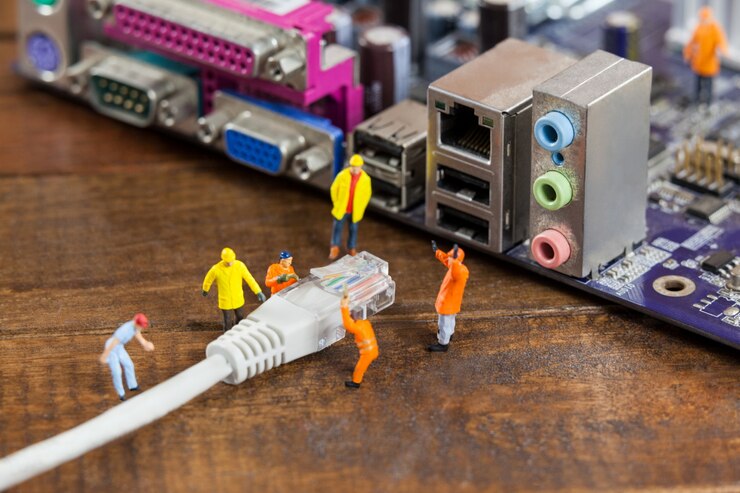
- Network Adapter: Gigabit Ethernet for fast data transfer.
4. Buy a Prebuilt NAS or Server
Network-attached storage (NAS) devices like Synology or a small prebuilt server can be an excellent choice for those who prefer plug-and-play solutions.
Choosing the Right Operating System
Once you have your hardware, the next step is selecting an operating system. Some popular choices include:
- Ubuntu Server – A stable and widely used Linux-based OS.
- Debian – Another Linux option known for stability and security.
- Windows Server – A good choice for those familiar with Windows environments.
- TrueNAS – Perfect for network-attached storage setups.
- Unraid – Ideal for virtualization and media hosting.
Setting Up Your Home Server
- Install the OS – Download the OS of your choice, create a bootable USB drive, and install it on your server.
- Configure Network Settings – Assign a static IP address for easier access.
- Set Up Remote Access – Use SSH (Linux) or Remote Desktop (Windows) to manage your server remotely.
- Install Essential Software – Depending on your use case, install:
- Plex or Jellyfin for media streaming.
- Nextcloud for personal cloud storage.
- Apache or Nginx for web hosting.
- Docker for easy deployment of applications.
- Secure Your Server – Enable firewalls, disable unnecessary services, and use strong passwords.
- Backup Your Data – Regular backups ensure your data is protected from hardware failures.
Conclusion
Building a DIY home server can be a game-changer for anyone looking to take control of their digital life. Whether you use it for media streaming, data storage, or self-hosting apps, a home server offers flexibility, security, and customization. With the right hardware and software setup, you’ll have a powerful tool at your fingertips, ready to serve your needs.